

How to Odoo: Erfolgreich versenden mit dem Odoo-Shipping-Modul
shipcloud bietet eine einfache und einheitliche Anbindung zu allen relevanten Versanddienstleistern in Deutschland. Der große Vorteil für Onlinehändler ist die Vereinheitlichung des Versandprozesses. So werden Versandmarken unabhängig vom Versanddienstleister automatisch und prozessoptimiert erzeugt und gedruckt. Erfahren Sie in diesem Blogartikel mehr darüber.
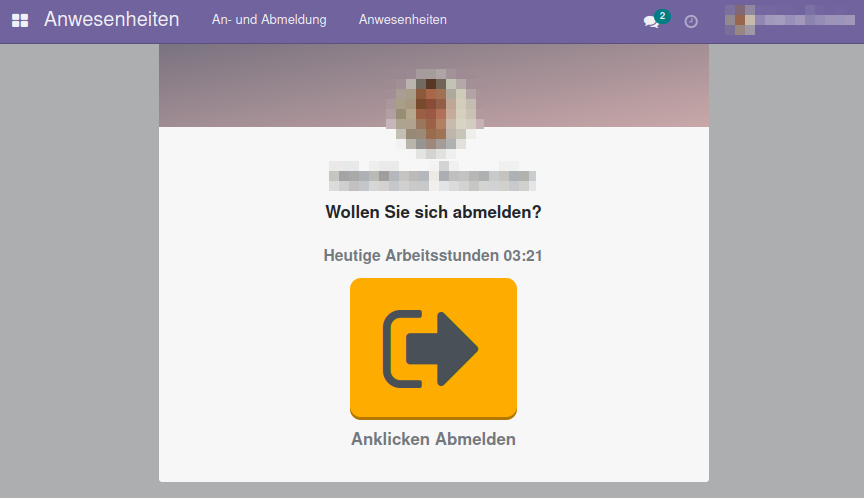
How to Odoo: Arbeitszeiterfassung
How to Odoo: Arbeitszeiterfassung In einem Beschluss vom 13. September 2022 hat das Bundesarbeitsgericht (BAG) festgelegt, dass Arbeitgebende die gesamte Arbeitszeit ihrer Arbeitnehmenden aufzeichnen müssen. In diesem Beitrag erfahren Sie, wie Sie dieser Verpflichtung mit dem Einsatz von Odoo nachkommen können. Was sind die gesetzlichen Vorgaben für die Arbeitszeiterfassung? Im Urteil vom 13.09.2022 wurde bisher

OCA Days 2023 – Ein Erfahrungsbericht
OCA Days 2023 – Ein Erfahrungsbericht Nachdem wir letztes Jahr nur zu zweit auf den OCA Days in Liège in Belgien waren, wollten wir dieses Jahr mit einer größeren Gruppe an den OCA Days teilnehmen, um unsere Zusammenarbeit mit der Community weiter zu stärken. Deswegen sind wir diesmal mit einem fünfköpfigen Team nach Belgien gereist,
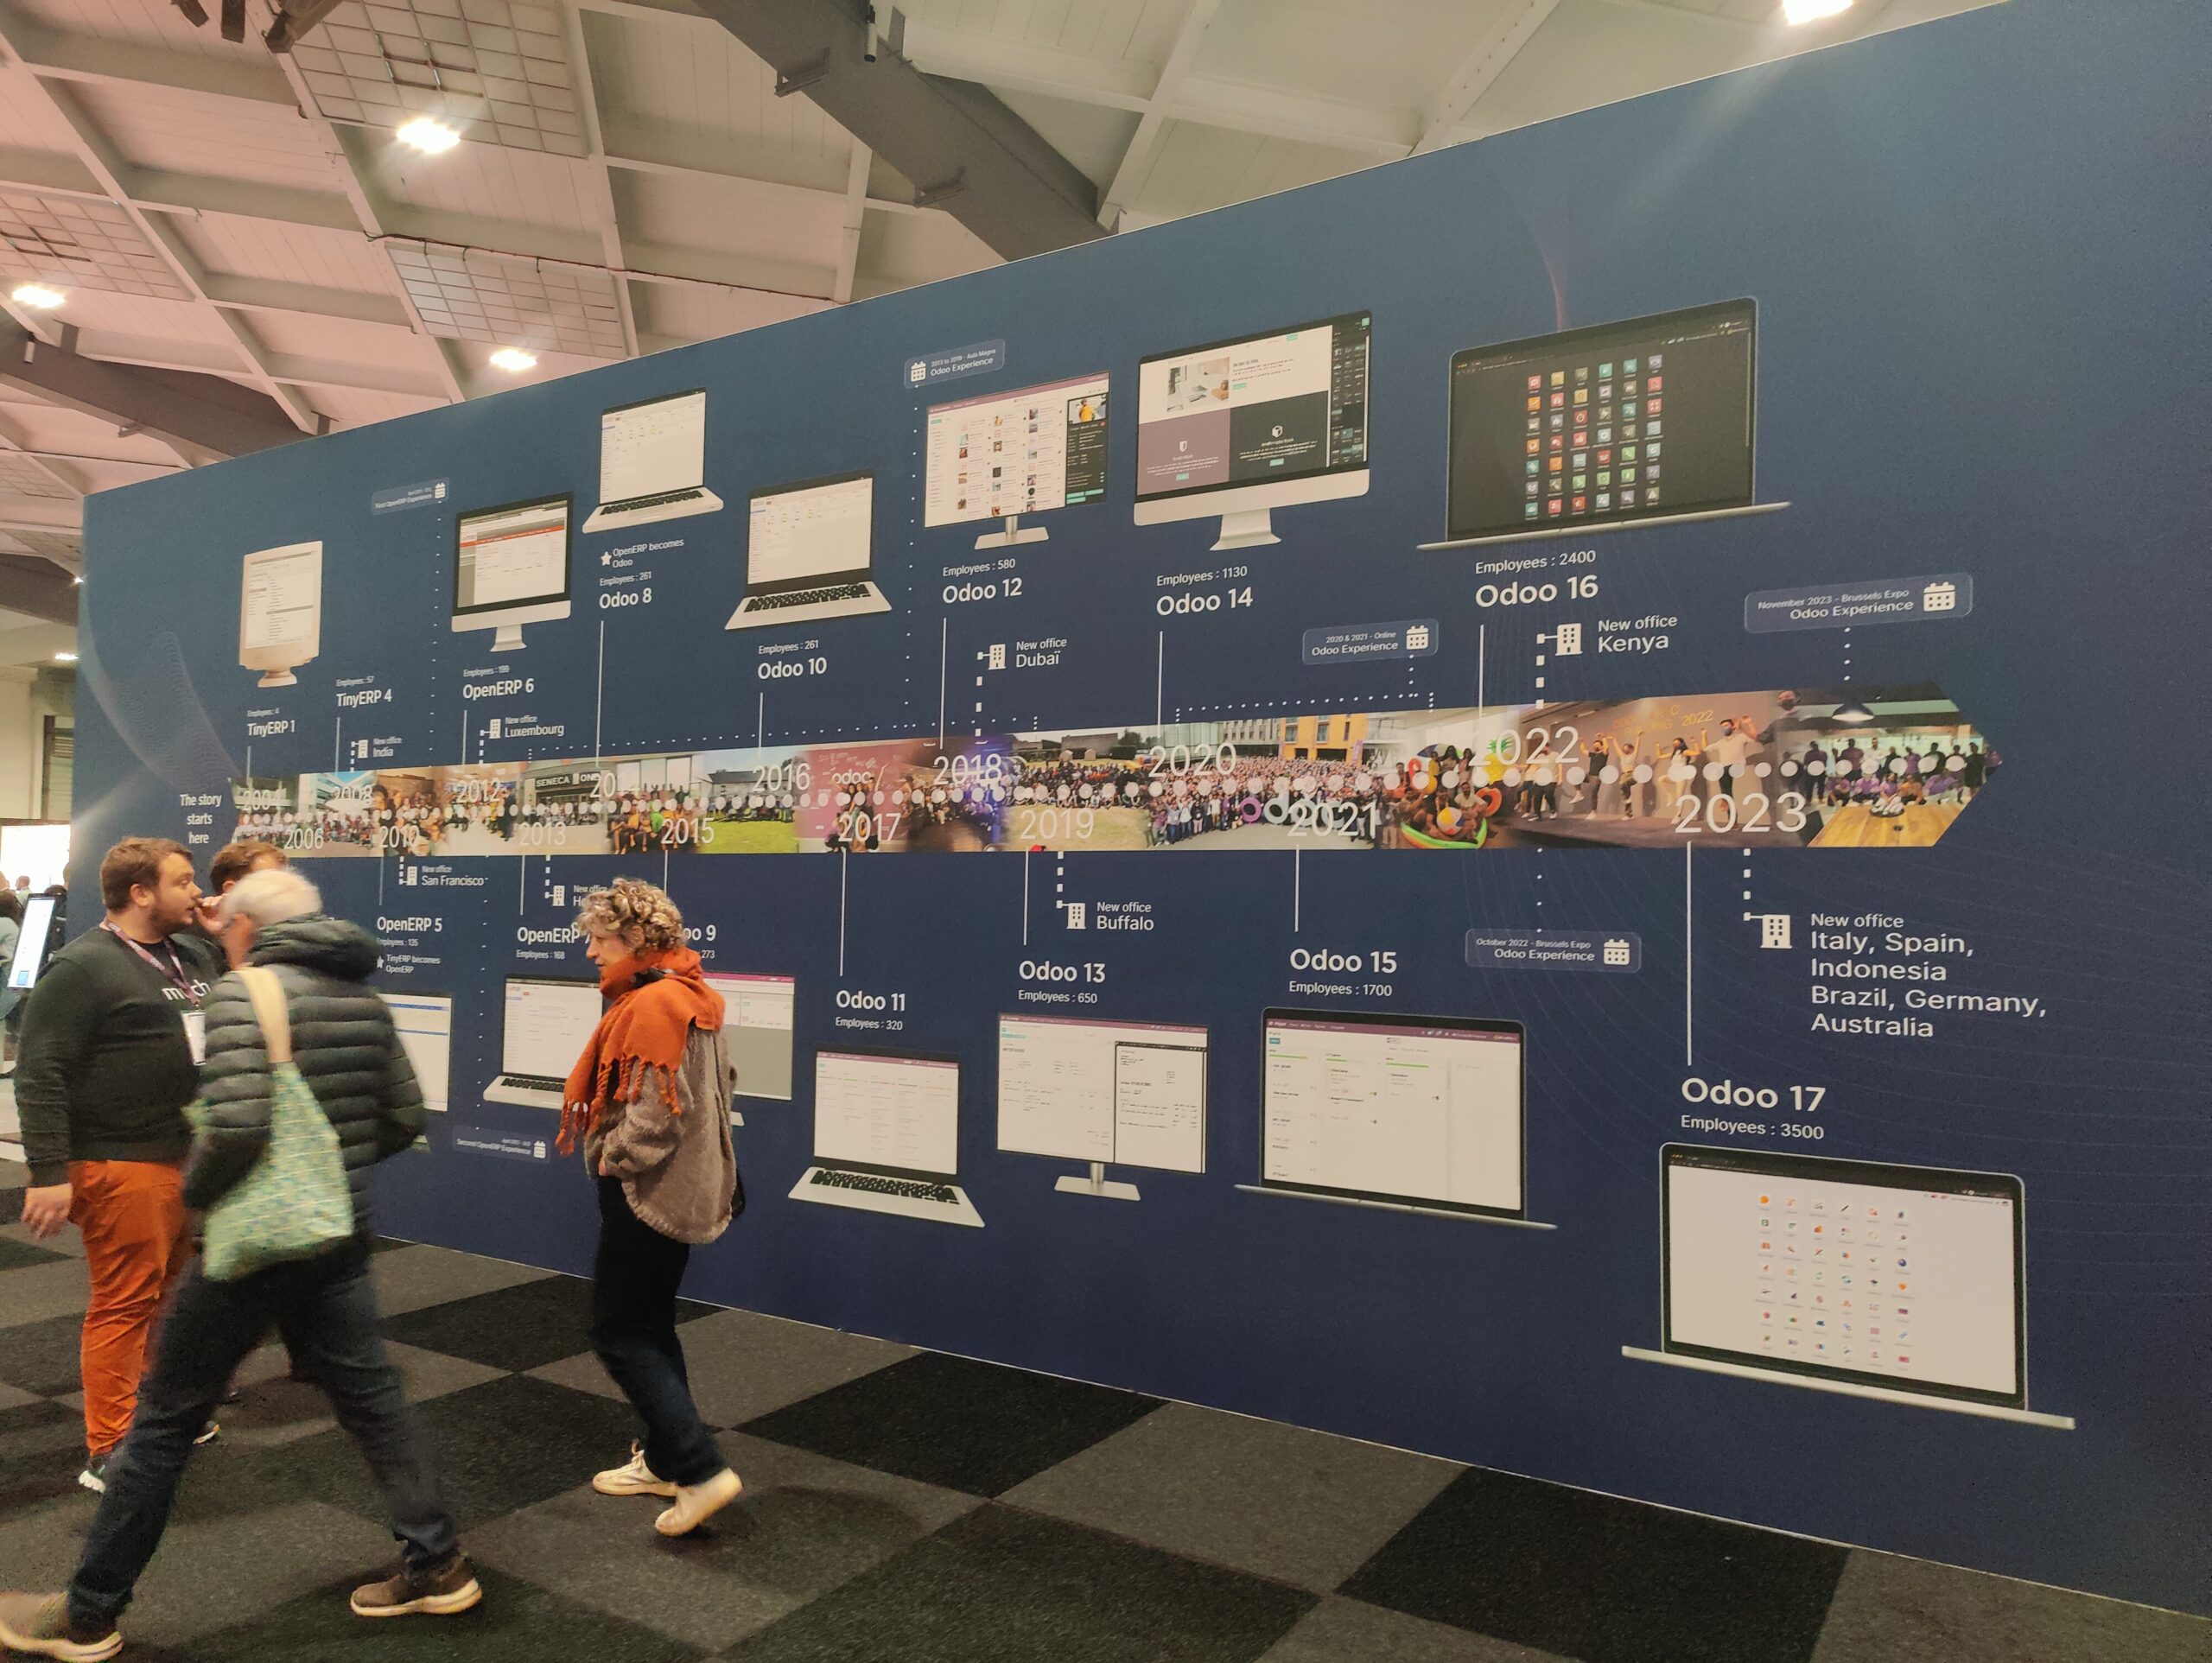
Odoo 17 Community Edition – Das ist neu
Odoo 17 Community Edition – Das ist neu Zusätzlich zu der Performance-Steigerung um 36 % hält Odoo 17 viele neue Features bereit. Damit Sie sich nicht mühsam durch alle Apps klicken müssen, haben wir Ihnen hier eine Übersicht mit Screenshots gestaltet. Über das Inhaltsverzeichnis können Sie schnell zu den Apps springen, die Sie interessieren. Einige
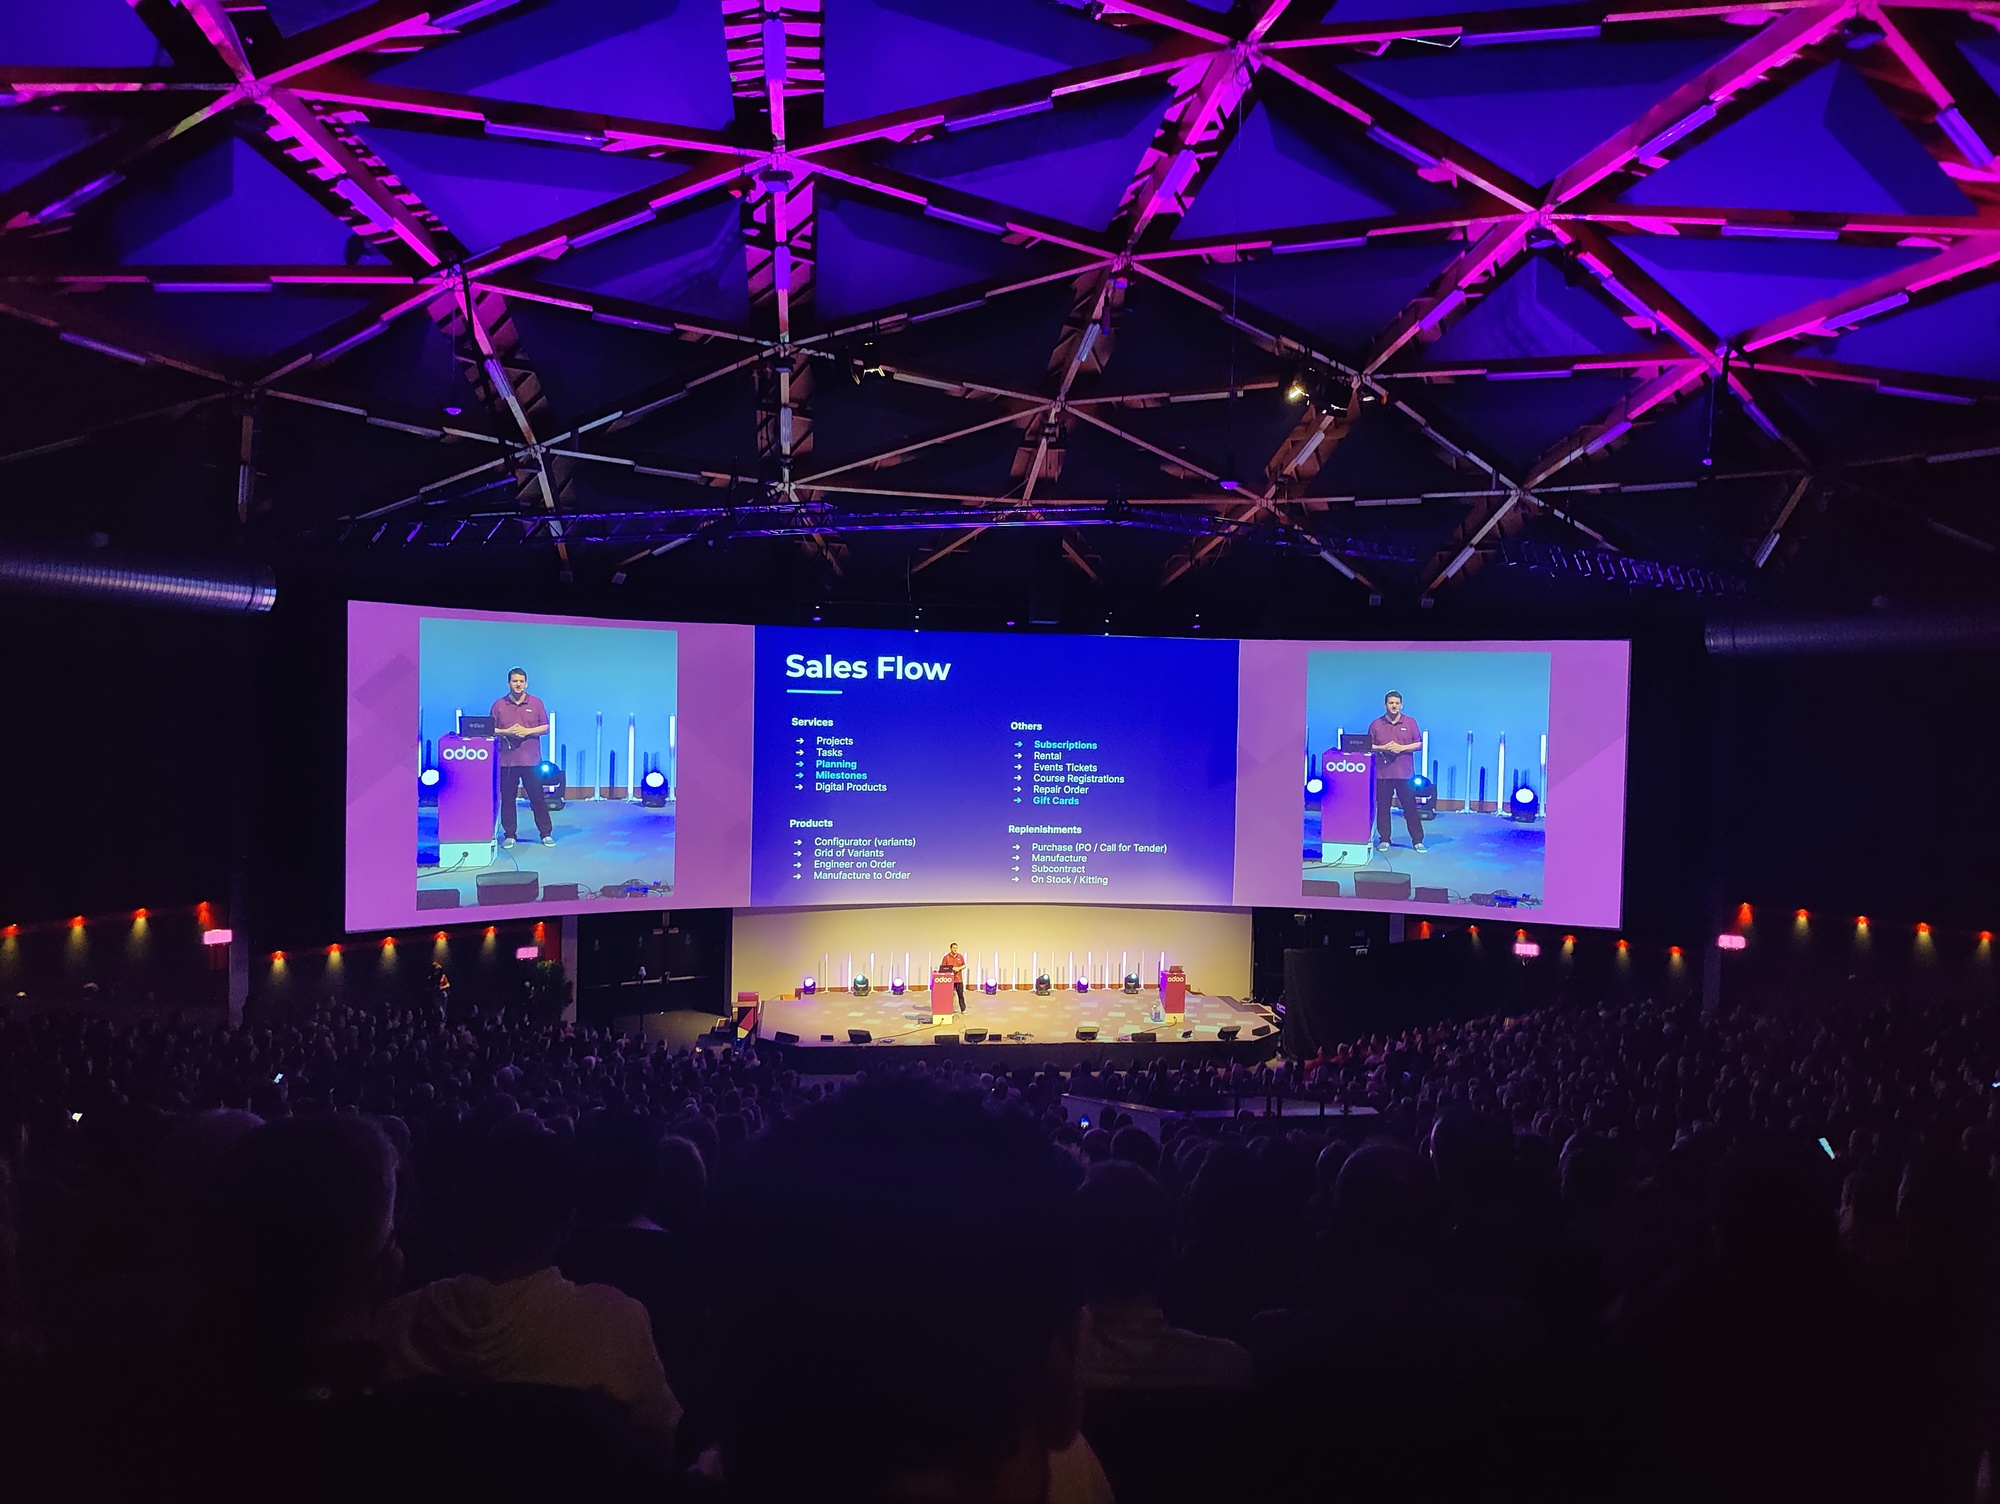
Odoo Experience und OCA Days 2023 – Eine Einschätzung
Odoo Experience und OCA Days 2023 – Eine Einschätzung Die Odoo Experience 2023 und die OCA Days 2023 waren wieder einmal eine unglaubliche Erfahrung. Die Weiterentwicklung von Odoo Die Odoo Experience 2023 und die OCA Days 2023 waren wieder einmal eine unglaubliche Erfahrung. Nicht nur, weil in diesem Zusammenhang – wie jedes Jahr – die
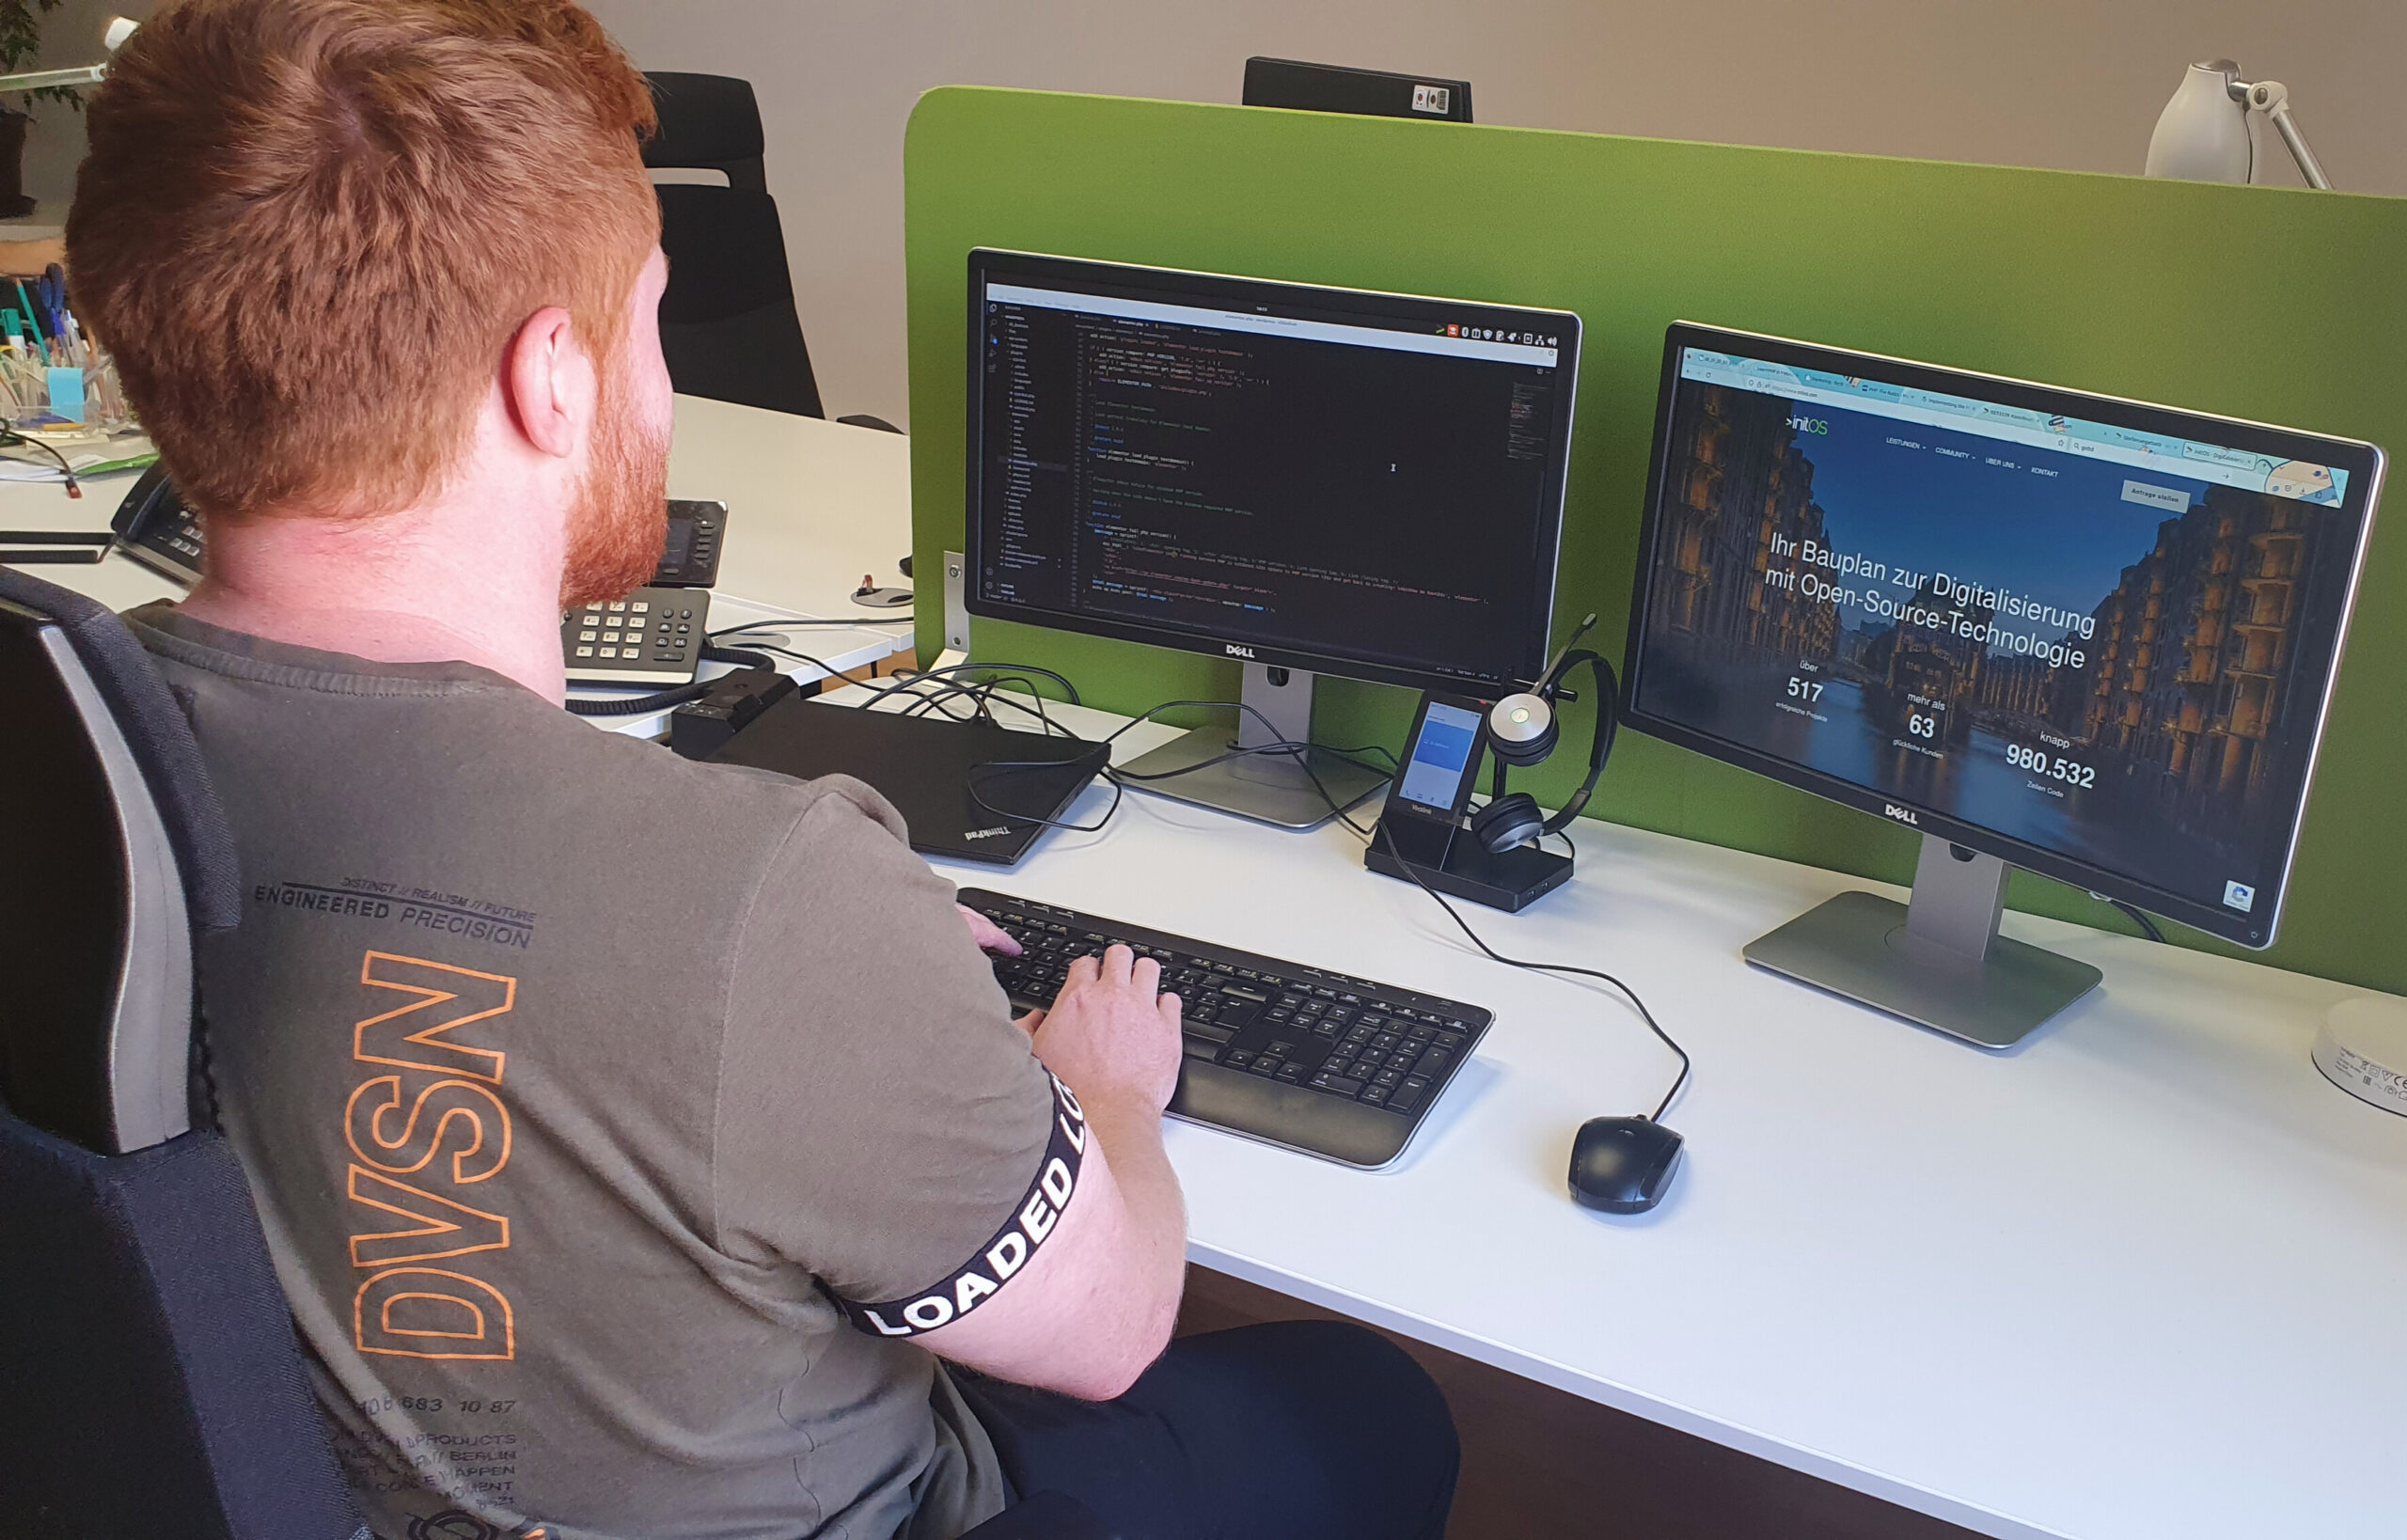
Erfahrungsbericht: Vom Praktikanten zum Entwickler
Erfahrungsbericht: Vom Praktikanten zum Entwickler Hey, ich bin Marcel und arbeite bei initOS als Software Developer und im Marketing. Wilde Kombination? Ja, aber genau der richtige Mix für mich. Bevor ich genauer darauf eingehe, lasst mich kurz ausholen und euch erzählen, wie ich dort eigentlich gelandet bin. Wir schreiben das Jahr 2022 – Anfang Februar,
Odoo ganz neu! Was ist neu in Odoo 16 und seinem Ökosystem?
Am Sonntag, den 9. Oktober 2022, machte ich mich zusammen mit meiner Projektmanagement-Teamkollegin Karin auf den Weg nach Lüttich / Belgien. Zum ersten Mal seit 2019 fanden die Odoo Community Association (OCA) Days vor Ort und getrennt von der Hauptveranstaltung von Odoo statt.
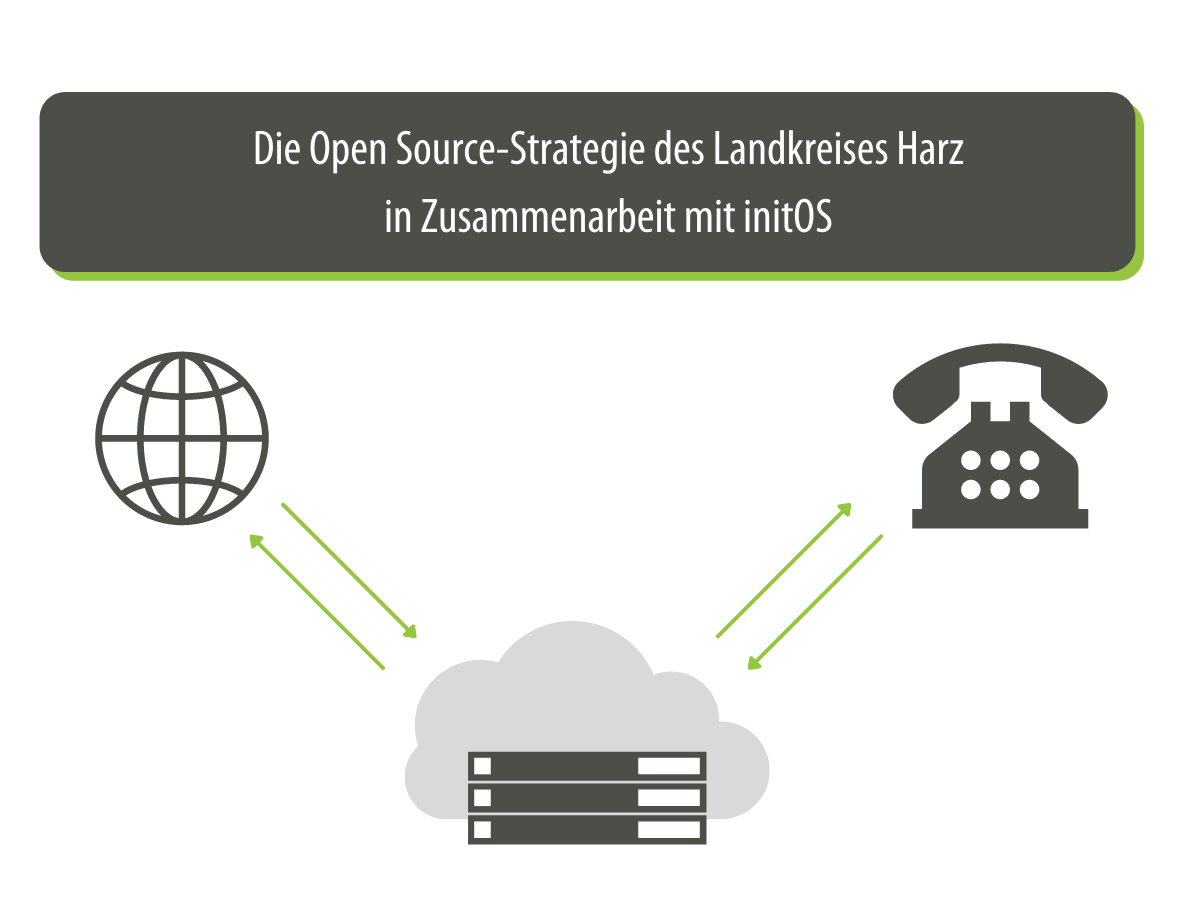
Wie der Landkreis Harz die Digitalisierung via Open Source vorantreibt
Mit Beginn der Covid-19-Pandemie gewann das Thema Digitalisierung in nahezu allen Bereichen an Bedeutung. Von kleinen Läden in der Innenstadt, über Krankenhäuser bis hin zu ganzen Landkreisen – viele Menschen waren auf eine zunehmende Digitalisierung angewiesen. So auch der Landkreis Harz.

Odoo Community vs. Enterprise: Ein Vergleich entlang der Wertschöpfungskette
Um das perfekte ERP-System für Ihr Unternehmen auszuwählen, müssen Sie verstehen, wie jedes Modul mit den Aktivitäten, wie Beschaffungslogistik, operative Geschäft, Absatzlogistik oder Marketing und Vertrieb zusammenhängen und dabei können wir Ihnen in diesem Blogbeitrag helfen.
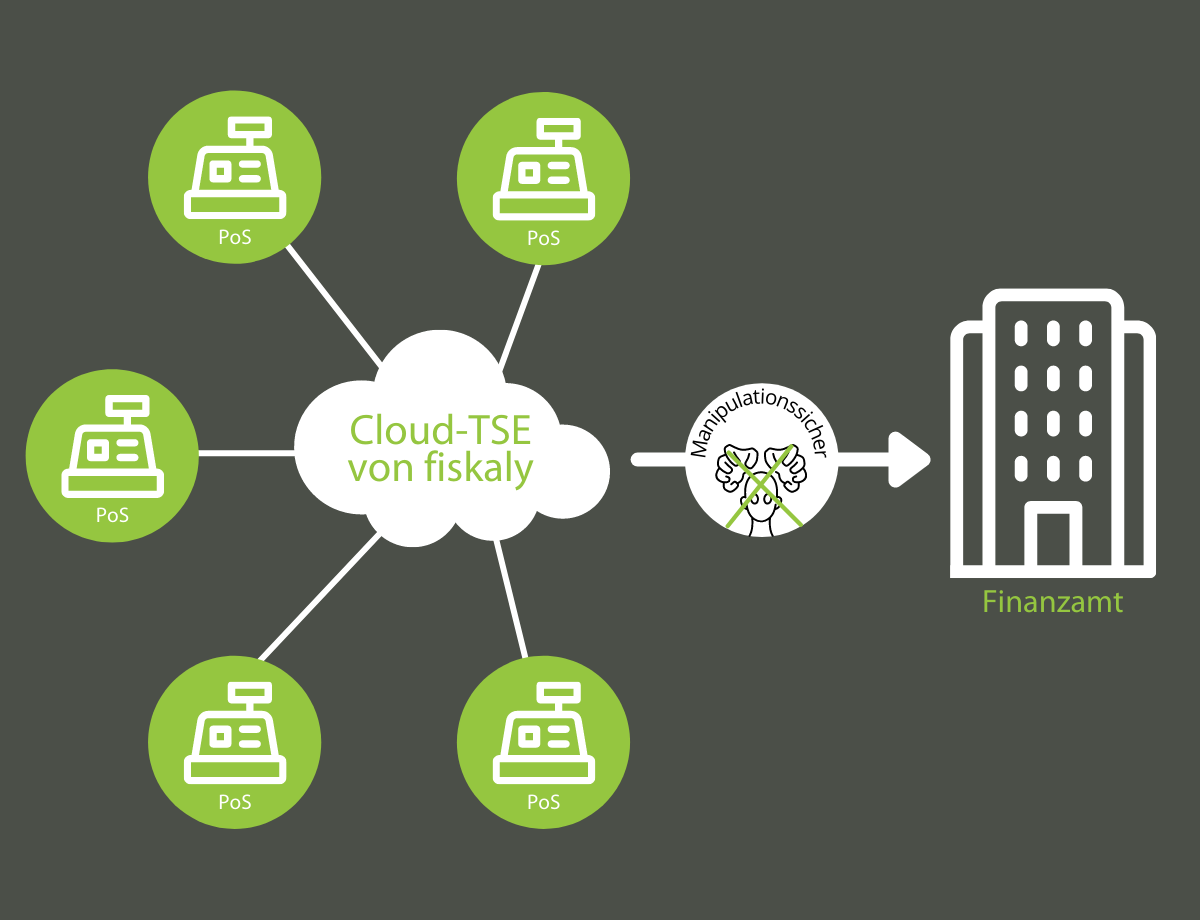
How to Odoo: TSE-Modul zur Umsetzung der KassenSichV
Um nachträgliche Manipulation an Registrierkassen zu vermeiden, müssen alle Registrierkassen mit einer Technischen Sicherungseinrichtung (TSE) ausgerüstet sein. Als Vorreiterin in der Digitalisierung von Geschäftsprozessen hat die initOS GmbH ein Modul entwickelt, das den Kassenspeicher an eine cloudbasierte TSE übermittelt: Manipulationssicher, unkompliziert und flexibel.